
Welcome to the Bloom and Grow Radio Blog!
Check out our Product Reviews, DIY tutorials, Garden to Table Recipes, podcast show notes, and more!

")


DIY Copper Wedding Arbor That You Can Repurpose in Your Garden!

DIY Copper Wedding Arbor
When I set out to plan my wedding I knew that I wanted as many elements as possible to be 1) planty! and 2) reusable. I also have a crafty side that was super inspired by all the Pinterest DIY Wedding projects, so when I came across this project for a DIY Wedding Arbor that could be repurposed as a garden trellis- I knew I had found an amazing option! The fun thing about this DIY Wedding Arbor is that it lives on in your home and garden long after the fleeting wedding day. Imagine incorporating this arbor into your garden, and standing under it every year on your anniversary for a toast, taking family photos beneath it, maybe even passing it down the family tree?! The limits are endless and I'm so thrilled to have featured this project on episode 140 of Bloom and Grow Radio as as one of the 3 Plant Inspired DIY Wedding Ideas that Live On After the Big Day. On the podcast, I'm joined by Marianne Canada, host of the HGTV Obsesssed Podcast, who walks us through the entire process.
If you end up completing this DIY Project, tag me with your results on IG @bloomandgrowradio !
What you'll need:
- 3/4″ copper piping and fittings
- grocery store flowers
- chicken wire
- greenery
- pipe cutter
- metal epoxy
- protective gloves
- shears
- hammer
- tent stakes
- cotton rope
Copper Piping Cut List
- (12) 28” pieces
- (8) 2’ pieces
- (2) 5’ pieces
- (4) elbows
- (20) tees
- (8) 1-½” pieces
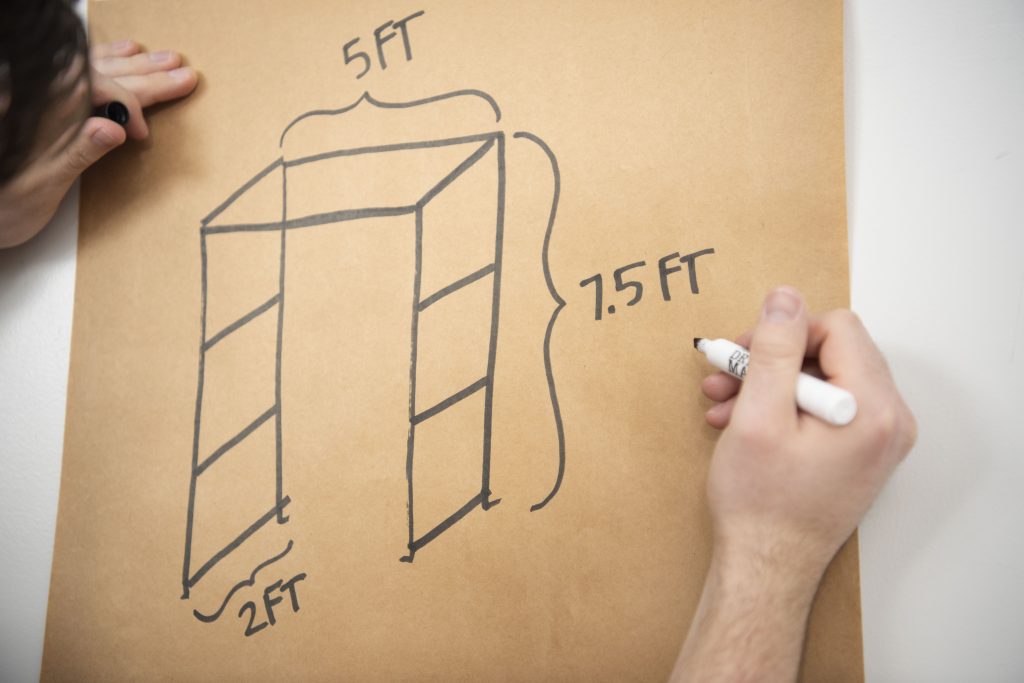
Step 1: Sketch Your Design
Sketch out your plan before building. Our measurements are 7-1/2′ tall, 5′ wide, 2′ deep.
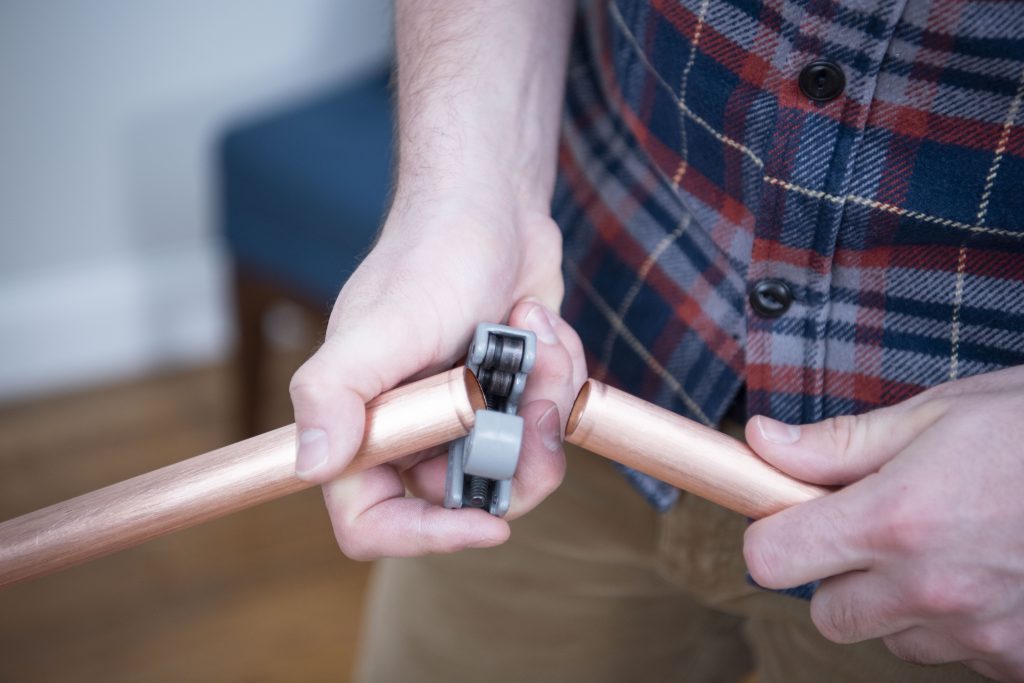
Step 2: Cut Copper Piping
Use a pipe cutter to cut piping to size. To do this, tighten the clamp as much as possible and spin. Once you've made a groove, tighten it a bit more, and spin until cut.
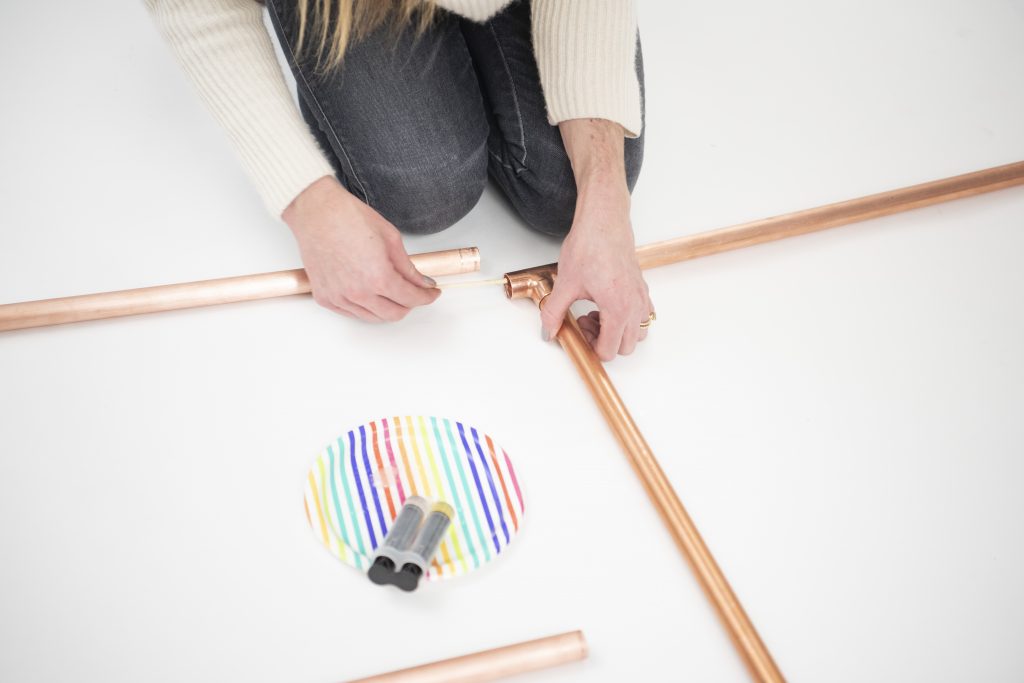
Step 3: Assemble Side Pieces
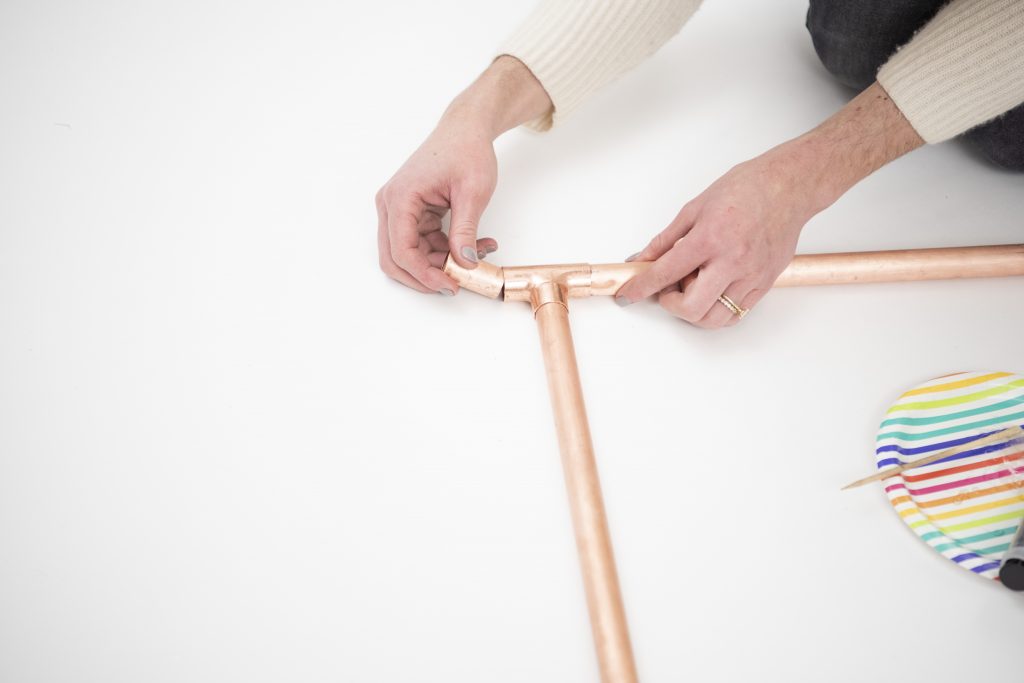
It's easiest to assemble the cut pieces on the floor. Note: Wait to attach crossbars the day of the event at the site, so you can easily transport the side pieces. Apply epoxy with a wooden skewer to attach pipe pieces. Attach a 1-1/2” piece to a three-way tee, followed by another three-way tee. Repeat for the other side.
Connect the two sides by attaching a 2’ pipe in between (Image 1).

Attach a 28″ piece on each side, followed by copper tees on each side (Image 2).

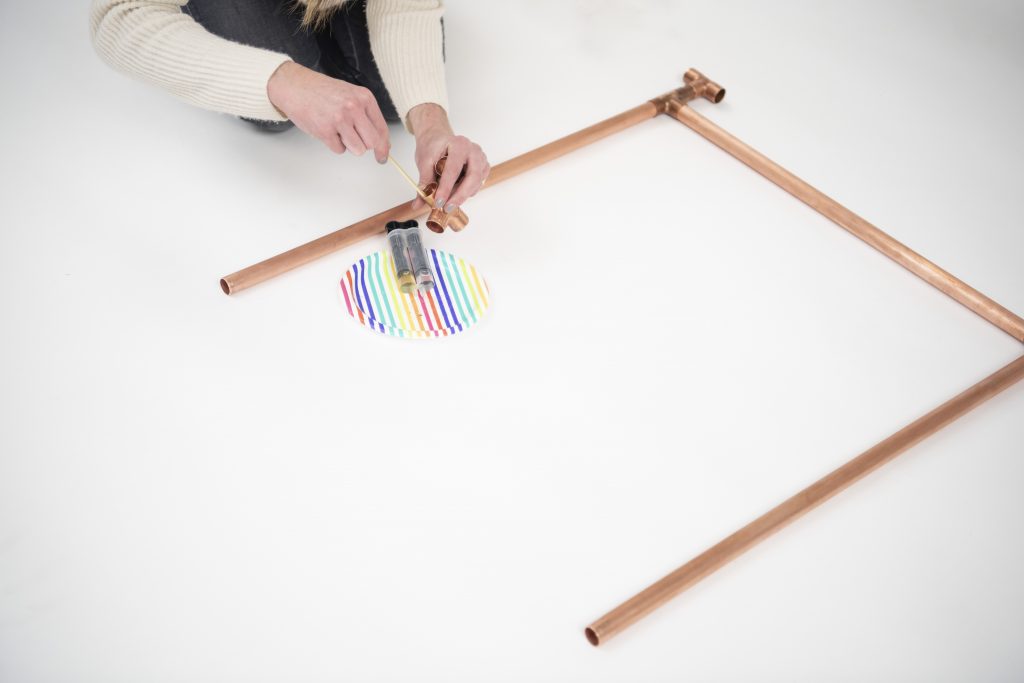
Connect those pieces with another 2′ piece to create a square (Image 3).
Repeat to make three total squares — like a ladder (Image 4).
Attach a 1-½” piece on each end for attaching the crossbars later (Image 5). Tip: Mix epoxy in small batches because it sets quickly.
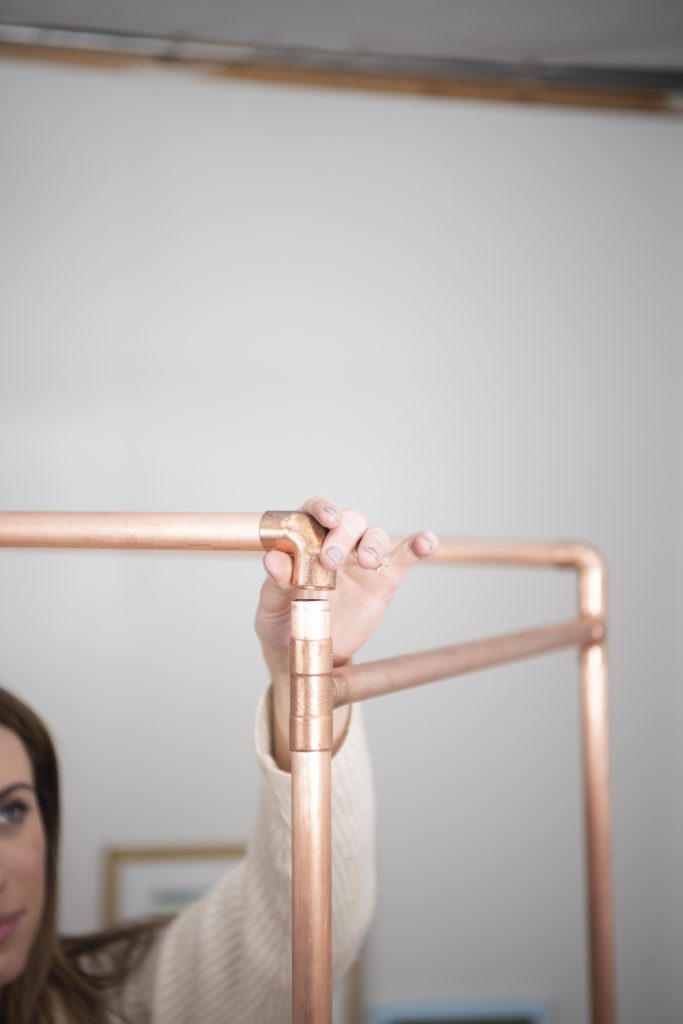
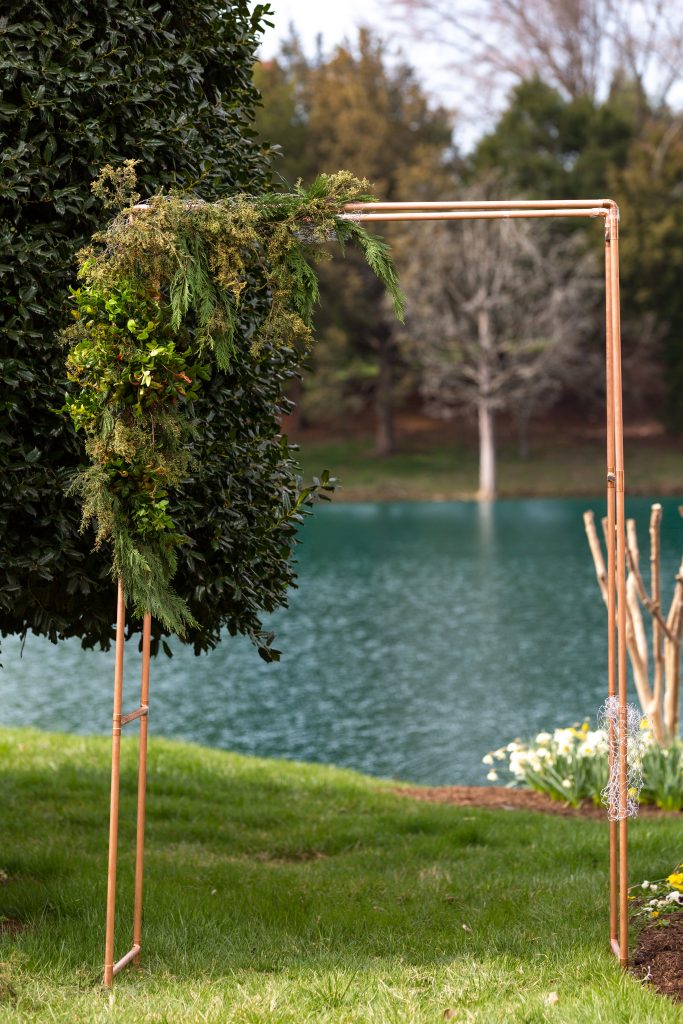
Step 4: Attach Crossbars
Once at the site, attach the top 5′ crossbars using 90-degree elbows. You can choose to skip the epoxy so you can adjust the crossbars easier.
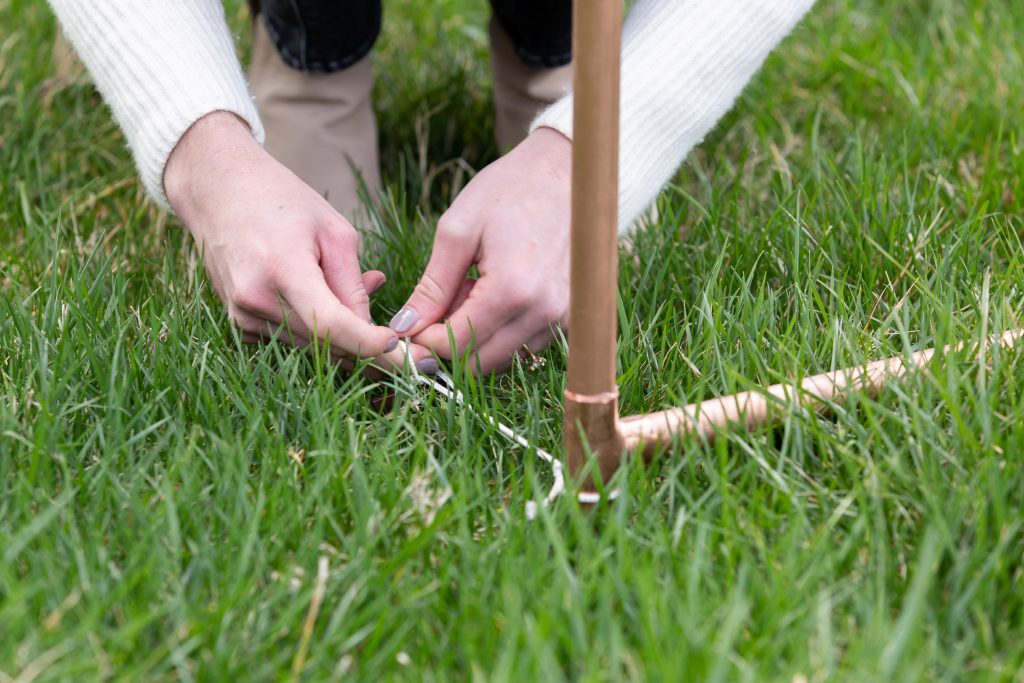
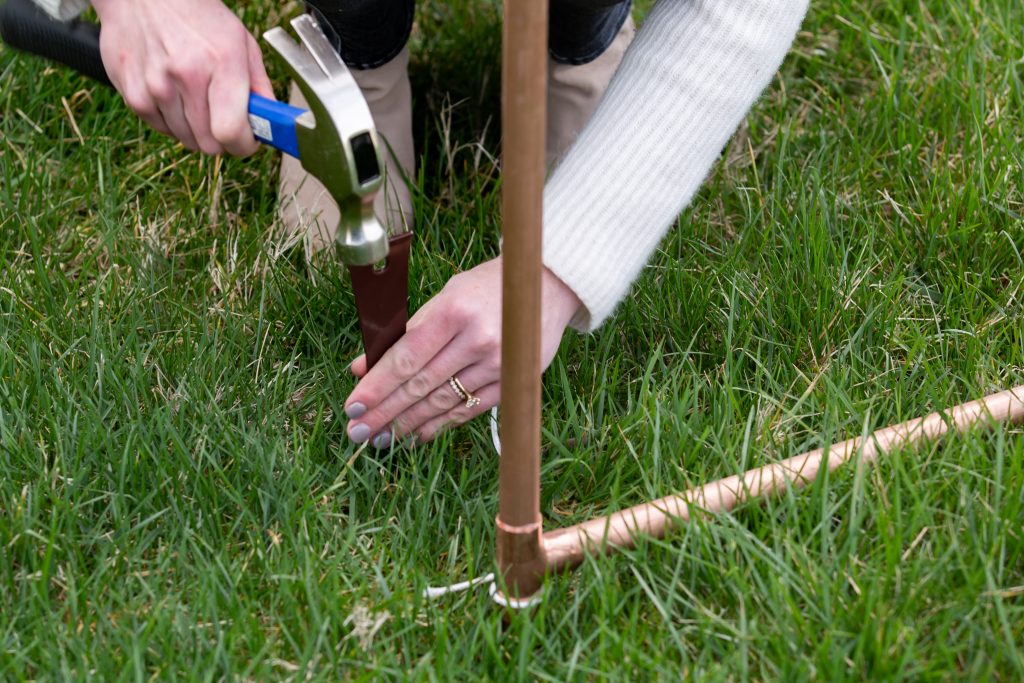
Step 5: Secure Arbor
Secure the arbor to the ground by tying cotton rope around the arbor's legs, then around the tent stakes (one per leg). Hammer in.

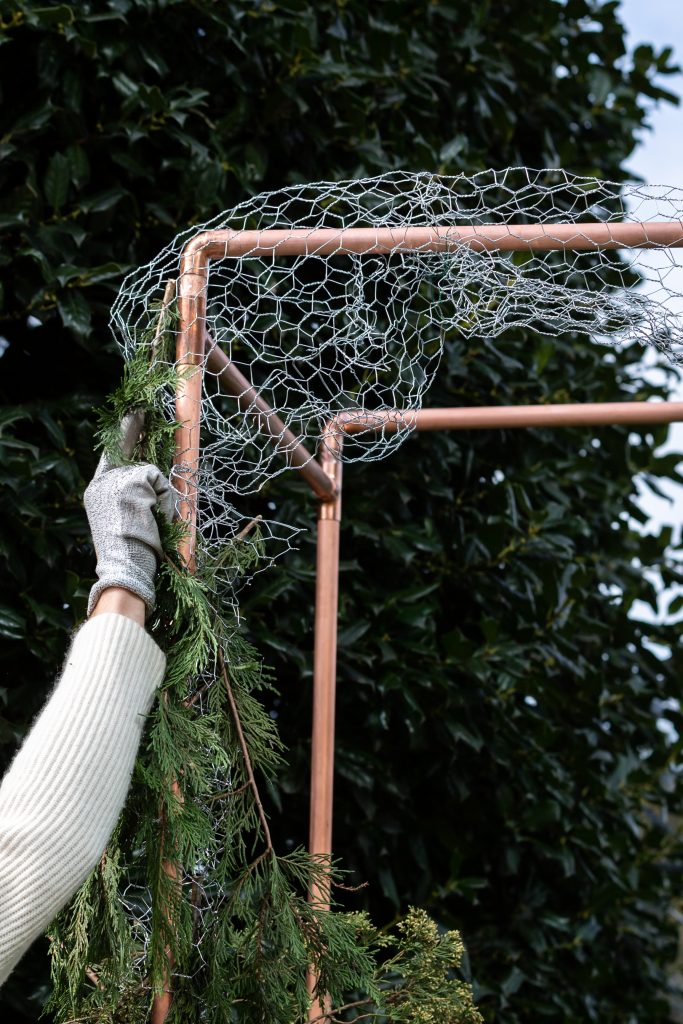
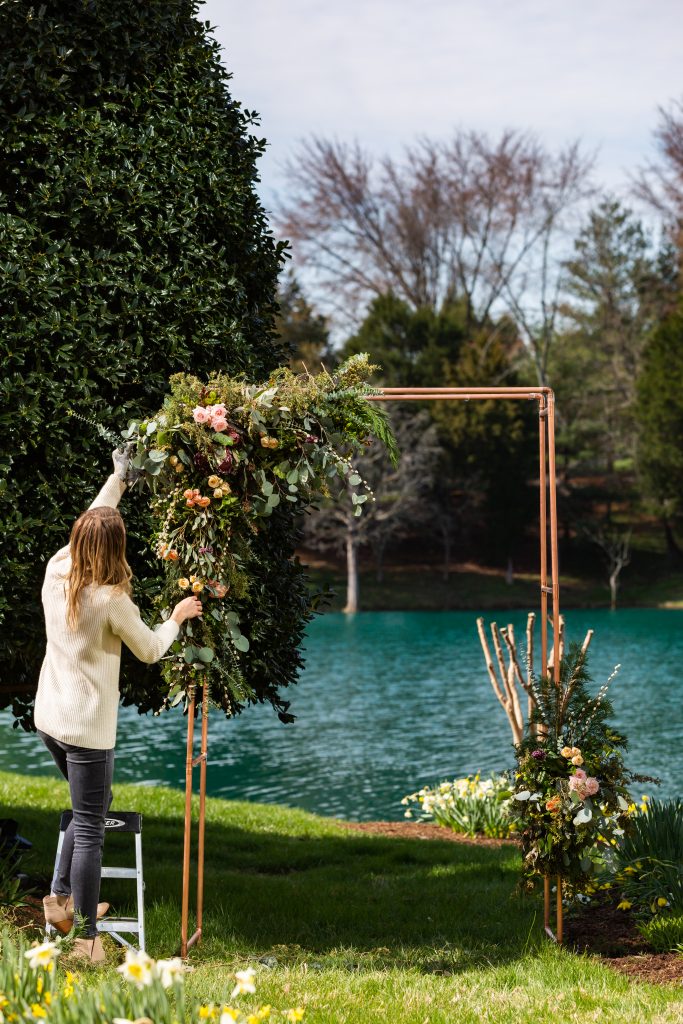
Step 6: Add Wire: Greenery and Flowers
On the day of the event, cut and wrap chicken wire around the corners and sides of the arbor while wearing gloves. Start by adding greenery to the chicken wire until lush, then fill with flowers until you reach the desired look.
Watch Marianne walk us through it!
Special thanks to HGTV for the inspiration and for providing the photos and tutorial in this blog.
Thanks to Marianne Canada for being a guest on this podcast episode! Check out Marianne's podcast HGTV Obsessed and all of the amazing HGTV DIY Projects on their website
Photo Credit: Clara MacLellan for HGTV.com

Leave a Reply
You must be logged in to post a comment.
")
Stop wasting money on plants that don’t fit with your lifestyle.
Take the Plant Parent Personality™ quiz, and get curated recommendations for plants, projects, and podcast episodes inspired by your lifestyle to unlock your Plant Parent Potential!
